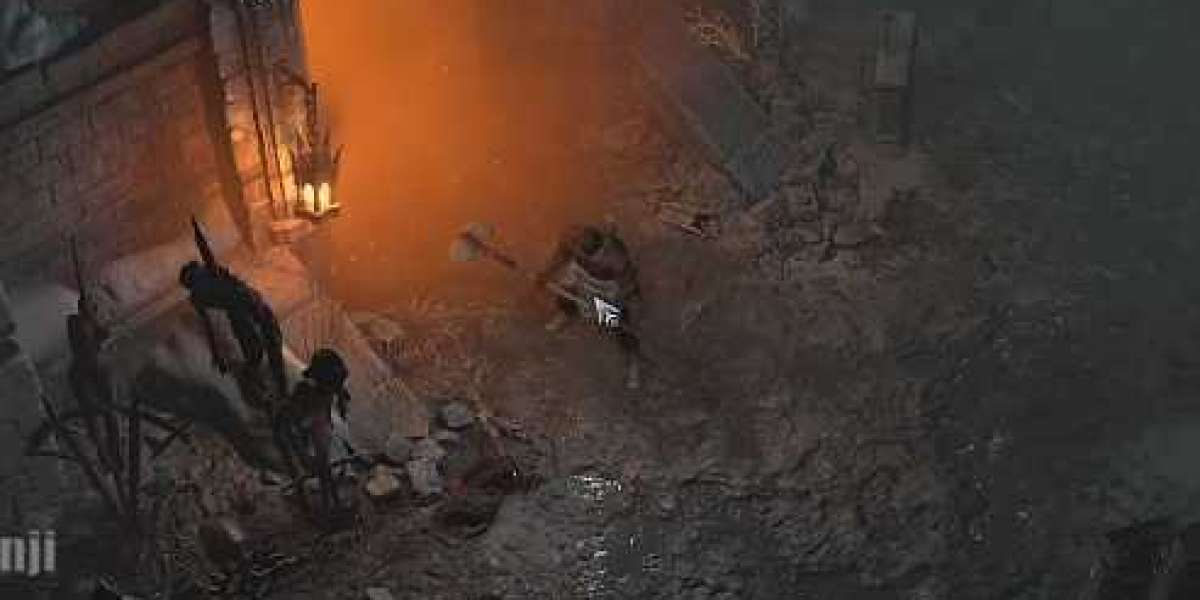

Once the monsters stop falling over in a single pass, Whirlwind has to do more than keep the Barbarian moving. The Freeze version solves that problem by locking packs in place, limiting incoming attacks, and opening extra damage windows against crowd-controlled targets. It's built for sustained pressure rather than one oversized hit. That makes it especially useful in deep Pit runs, where enemies have enough health to punish sloppy rotations. Getting there still takes serious investment, though. Well-rolled Diablo 4 Items matter far more than a bag full of random high-power drops, and every affix needs to support damage, Fury, cooldown uptime, or survival. When those pieces line up, the build can challenge Pit Tier 144 without giving up the fast, aggressive feel that makes Whirlwind fun.
How the Freeze Engine Works
The basic loop isn't complicated. Start Whirlwind, keep moving through the pack, and use your shouts before Fury or defence becomes a problem. Freeze then does two jobs at once. It prevents ordinary monsters from fighting back, but it also activates bonuses tied to Frozen and crowd-controlled enemies. You'll quickly notice the difference when an elite pack freezes together and its health begins dropping much faster. Bosses need a little more patience because crowd control works through stagger rather than a permanent freeze. Even so, repeated control effects help fill the stagger bar, creating a valuable period in which every offensive multiplier can be pushed. This is why cooldown timing matters. Blowing War Cry, Wrath of the Berserker, and other buffs on an almost-full stagger bar often wastes the best part of the damage window. Hold them for a moment, then unload when the boss can't move.
Skills and Combat Rhythm
Whirlwind is the main attack, but the supporting bar keeps it alive. Rallying Cry handles movement and Fury generation, while War Cry adds a reliable offensive boost. Challenging Shout gives the build room to stay close when high-tier enemies begin hitting hard. Wrath of the Berserker belongs in the major damage windows, particularly against dangerous elites or staggered bosses. The remaining slot can cover defence, utility, or another source of control depending on the gear available. Don't treat the shouts as buttons that must all be pressed together. That's a common mistake. Staggering their use can smooth Fury generation and prevent a long stretch with no defensive help. Keep Berserk active when possible, circle through dense groups instead of chasing stragglers, and avoid cancelling Whirlwind for no reason. Small breaks in channel time don't look costly, but they add up during a long Pit boss fight.
Gear That Earns Its Place
Item Power is useful, yet it doesn't tell the whole story. A slightly lower weapon with the right offensive rolls can beat a higher one that offers nothing to the build's actual damage engine. Critical Strike Chance, Critical Strike Damage, relevant additive damage, and bonuses against Frozen or crowd-controlled targets are natural priorities. Resource generation and Fury efficiency are just as important because an empty Fury globe means zero Whirlwind damage. Cooldown Reduction helps shouts return sooner and makes difficult pulls feel less exposed. Defence can't be ignored either. Armour, resistances, maximum life, damage reduction, and reliable healing all become more valuable as Pit tiers rise. Masterworking should improve affixes that affect the build on every pull, not a narrow stat that looks impressive in town. If a piece rolls badly, know when to stop spending. Gold disappears quickly when enchanting turns into a stubborn guessing game.
Preparing for a Pit 144 Push
A strong character is only half the run. Route choice, monster grouping, and cooldown discipline can save more time than one extra damage roll. Pull nearby enemies into a tight pack before using major buffs, then spin through the centre so Freeze catches as many targets as possible. Kill threatening elites first, especially those with effects that force constant repositioning. Nightmare Dungeons remain useful for materials and character development, while Helltides provide a steady flow of gear and crafting resources. Targeted boss farming is better when the build needs a particular Unique. Salvage weak drops rather than hoarding them, and keep enough gold available for enchanting and Masterworking. During the push itself, don't waste thirty seconds fighting a lone monster in a bad corner. Move on, build a better group, and protect the timer. Deep Pit clears are often decided by ordinary decisions made long before the boss appears.
Final Thoughts
Freeze Whirlwind works because its parts cover one another's weaknesses. Whirlwind supplies constant mobile damage, Freeze reduces pressure, shouts keep Fury and defence under control, and stagger creates the burst window needed for thick boss health bars. It isn't a cheap setup, nor is it completely mindless once Pit difficulty climbs. You'll need clean gear, sensible Masterworking, and a feel for when to hold a cooldown. Players who want to shorten the gearing process may choose to buy D4 items, but strong equipment still has to be paired with good positioning and resource management. Put in that work and the build becomes more than a farming spinner; it turns into a credible Tier 144 pusher that stays mobile, controls the room, and keeps dealing damage when many burst-focused setups begin to stall.